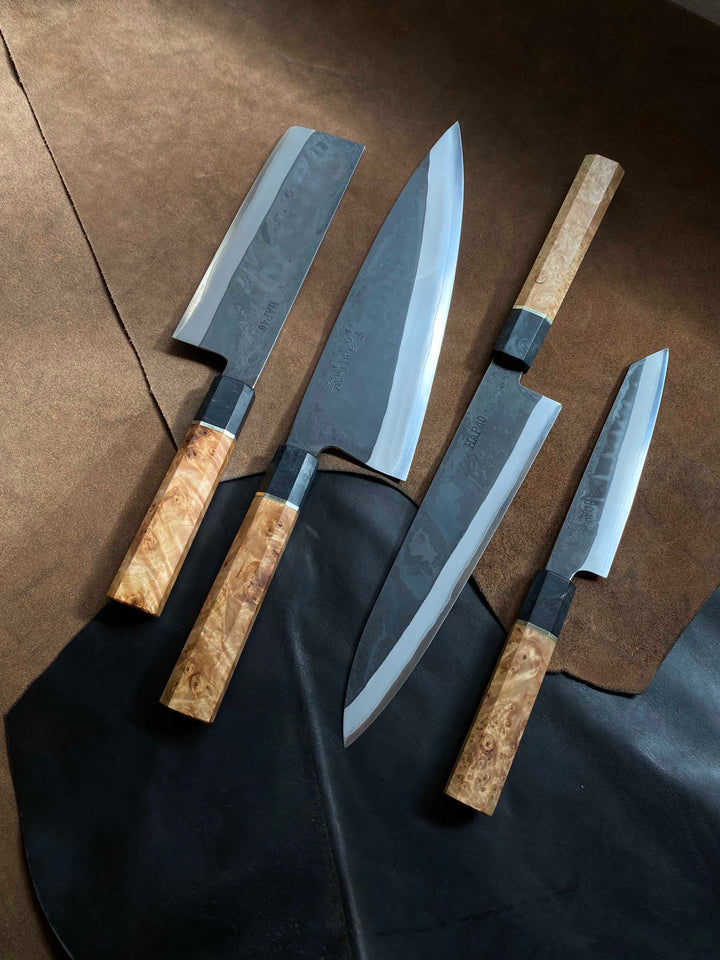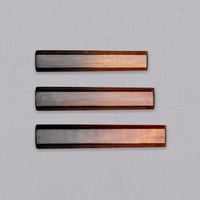
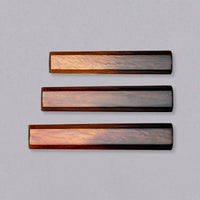


Maniglia giapponese - Urushi Flame Oak [octagon]
Attach a Blade To the Handle ➞
|
✔︎ No import fees & duties (US tarrifs excluded) |
- Descrizione
- Specifications
- Shipping
- Handle Fitting
Un manico giapponese tradizionale di forma ottagonale, realizzato in legno di quercia. Senza fascetta, questo manico è tutt'altro che minimalista. In un elegante gradiente molto lucido, il colore naturale rossastro del legno si scurisce lentamente dalla parte superiore verso il fondo del manico. Il manico ottagonale offre una buona presa e la superficie liscia senza incisioni garantisce una facile pulizia e manutenzione.
Simmetrico, adatto sia per utenti mancini che destrimani.
Materiale: Realizzato in legno di quercia, rinomato per la sua durezza, resistenza e durata. Adatto anche per lame destinate ad applicazioni più pesanti.
Cos'è l'urushi?
L'urushi è la linfa dell'albero di urushi, noto anche come albero della lacca o albero della vernice giapponese. La linfa contiene la resina urushiolo, che diventa una lacca molto dura, lucida e durevole quando esposta all'aria e all'umidità.
Nel Giappone antico, la gente riconosceva la durabilità e la bellezza dell'urushi e iniziò a usarlo per rivestire legno, ceramica e ogni tipo di altro oggetto per proteggerli e rinforzarli. L'urushi completamente indurito è resistente agli alcali, agli acidi e all'alcol e può sopportare temperature estreme!
La laccatura urushi è profondamente legata alla cultura giapponese e la sua maestria richiede molta pratica. Le abilità e le tecniche utilizzate sono state tramandate per molti secoli. Ogni strato viene asciugato e lucidato prima di aggiungere il successivo, rendendo il processo urushi lungo e laborioso. Questa applicazione, così come la difficile raccolta e la lavorazione altamente tecnica della materia prima, rendono gli oggetti laccati tradizionalmente molto desiderabili e costosi.
L'urushi è sicuro per gli alimenti ed è stato usato su stoviglie per secoli, soprattutto sulle ciotole giapponesi per riso e miso.
Disponibile in tre misure:
| Dimensione | Dimensioni (mm / pollici) | Uso |
|---|---|---|
| L |
Lunghezza: 140mm (5.5") |
Per tutti i coltelli più lunghi di 210mm (8,27"). |
| M | Lunghezza: 128mm (5.0") Diametro della fascetta: 21 x 18mm (0.8" x 0.7") Apertura del codolo: 12,6 x 2,8mm (0,5" x 0,1") |
Per coltelli santoku, nakiri, bunka e gyuto fino a 210mm (8,27") (o fino a 240mm / 9,45"). Per il coltello da prosciutto Burja. |
| S | Lunghezza: 120mm (4,7") Diametro della fascetta: 20 x 15mm (0.8" x 0.6") Apertura del codolo: 10,9 x 2,8mm (0,4" x 0,1") |
Per piccoli coltelli da cucina e da utilità fino a 150mm (5,91"). |
SHIPPING RATES:
- €10 - flat worldwide rate with DHL Express (express delivery, 2-5 business days).
- FREE - all orders over €300 (DHL Express).
EXCEPTIONS:
See our Shipping page for more details.
DUTIES AND IMPORT TAXES:
We ship all orders DDP (duties & taxes paid). This means you will not be charged for any import fees and taxes (including VAT). All our prices are final. The price you see at checkout is the final price, no hidden costs.
DELIVERY TIME:
- Europe: 1-2 business days
- US & Canada: 2-4 business days
- Rest of the World: 3-5 business days
RETURNS:
Our return policy lasts 30 days. If more than 30 days have gone by since the day you received your order, unfortunately we can’t offer you a refund or exchange.
→ Read our SHIPPING & RETURNS policy for more info. We strive to solve any issues fast and with as little hassle for you. If you have some additional questions, please contact us.
Handle Fitting Instructions:
Watch a step-by-step video or read the instructions:
1) Choose the right handle for the blade. Prepare the work surface and the equipment needed for fitting: the adhesive for wood/metal (we recommend using 2-component high viscosity epoxy glue), natural sealant resistant to corrosion, syringe, small sharp utility knife, sandpaper (optional), thin plastic card (similar to a credit card), a piece of cloth, oil/wax for wood care.
2) Check the initial fit, use a diamond nail file to make proper adjustments to the insertion hole so it fits your blade.
3) Use scotch tape to protect the area of the handle around the insertion hole.
4) Prepare and mix the adhesive; we recommend the use of 2-component high-viscosity epoxy glue. Other kind of adhesive can be used as well, make sure it’s suitable for wood/metal, high-viscosity is optimal as it makes the application much easier.
5) Fill the syringe and infuse the handle so there’s some excess glue coming out of the handle.
6) Insert the blade, make sure it’s straight in all directions and watch the excess glue so it doesn’t reach the unprotected part of the handle.
7) Carefully put the assembled knife down and wait for the glue to dry. The duration of the drying process depends on the type of glue you used, please see the instructions on the glue packaging.
8) Once the glue is dry, remove the scotch tape, take a small knife and clean the excess glue if there is any leftover around the fitting hole. Due to the structure of the wood, there’s a chance some of the glue poured out of the small holes on the handle, this is normal. Use the knife or high-grit sandpaper to remove the glue.
9) Use a natural sealant (resistant to corrosion) and fill any remaining gap between the blade and the handle insertion hole. For high precision use a plastic card/spatula to evenly distribute the sealant. Clean the leftover sealant with a cloth.
10) Final step: use oil or wax intended for wood care and apply it to the handle to achieve the final look.
11) All done, enjoy your new handle.
Have you tried building your own custom knife?
Knife configurator
Use the SharpEdge Configurator to build your custom knife.
Knife configurator
Knife blades


![Handle fitting [service]_1](http://sharpedgeshop.com/cdn/shop/products/service_360x.png?v=1666343988)
Handle fitting service
Add Handle Fitting service to your cart when you order a blade (knife without a handle) and a custom handle from us and want us to install the handle on the blade for you.
HANDLE FITTING
A STEP-BY-STEP GUIDE