![Handle fitting [service]_1](http://sharpedgeshop.com/cdn/shop/products/service_1100x.png?v=1666343988)
![Handle fitting [service]_2](http://sharpedgeshop.com/cdn/shop/products/letak_Handle_Fitting_TN_2048x2048_57f47bd0-0570-4f10-b233-d370374bd814_1100x.webp?v=1666343988)
![Handle fitting [service]_3](http://sharpedgeshop.com/cdn/shop/products/letak_Handle_Fitting_TN2_2048x2048_03128bfe-1e4a-4c93-94d3-1892d90ddb58_1100x.webp?v=1666343988)
![Handle fitting [service]_1](http://sharpedgeshop.com/cdn/shop/products/service_900x.png?v=1666343988)
![Handle fitting [service]_2](http://sharpedgeshop.com/cdn/shop/products/letak_Handle_Fitting_TN_2048x2048_57f47bd0-0570-4f10-b233-d370374bd814_900x.webp?v=1666343988)
![Handle fitting [service]_3](http://sharpedgeshop.com/cdn/shop/products/letak_Handle_Fitting_TN2_2048x2048_03128bfe-1e4a-4c93-94d3-1892d90ddb58_900x.webp?v=1666343988)
![Handle fitting [service]_1](http://sharpedgeshop.com/cdn/shop/products/service_200x200_crop_center.png?v=1666343988)
![Handle fitting [service]_2](http://sharpedgeshop.com/cdn/shop/products/letak_Handle_Fitting_TN_2048x2048_57f47bd0-0570-4f10-b233-d370374bd814_200x200_crop_center.webp?v=1666343988)
![Handle fitting [service]_3](http://sharpedgeshop.com/cdn/shop/products/letak_Handle_Fitting_TN2_2048x2048_03128bfe-1e4a-4c93-94d3-1892d90ddb58_200x200_crop_center.webp?v=1666343988)
Handle fitting [service]
|
✔︎ No import fees & duties (US tarrifs excluded) |
![Mino Japanese Daruma Mug [red]](http://sharpedgeshop.com/cdn/shop/files/MinoJapaneseDarumaMug_red__000000001984_1_180x180_crop_center.jpg?v=1776939888)
- Description
- Shipping
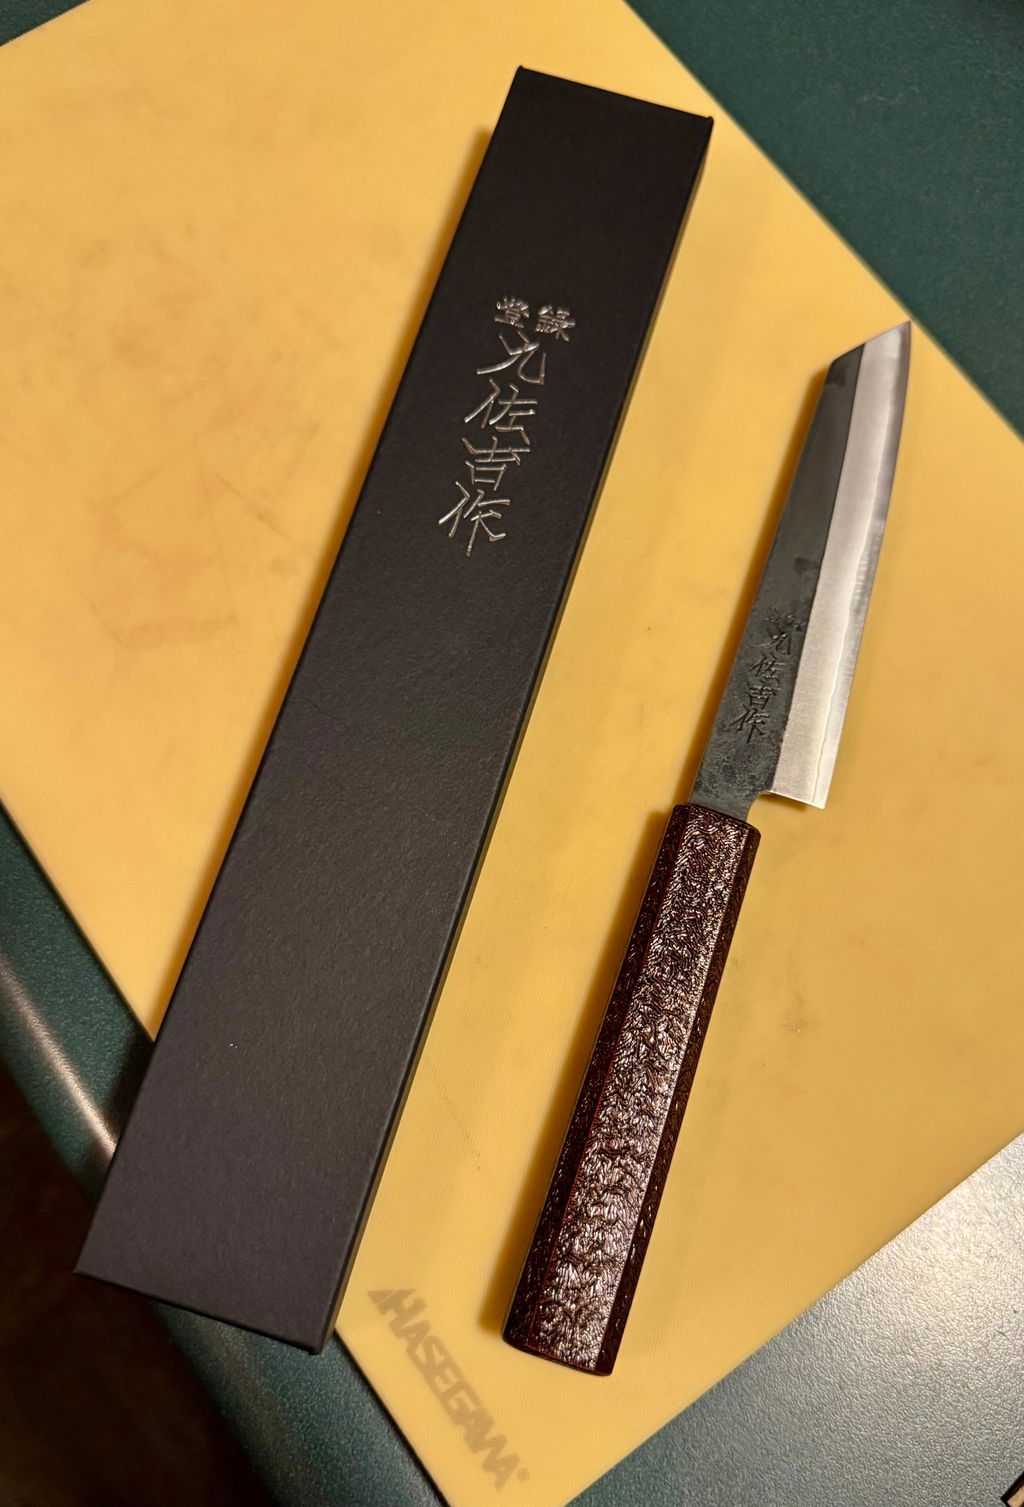
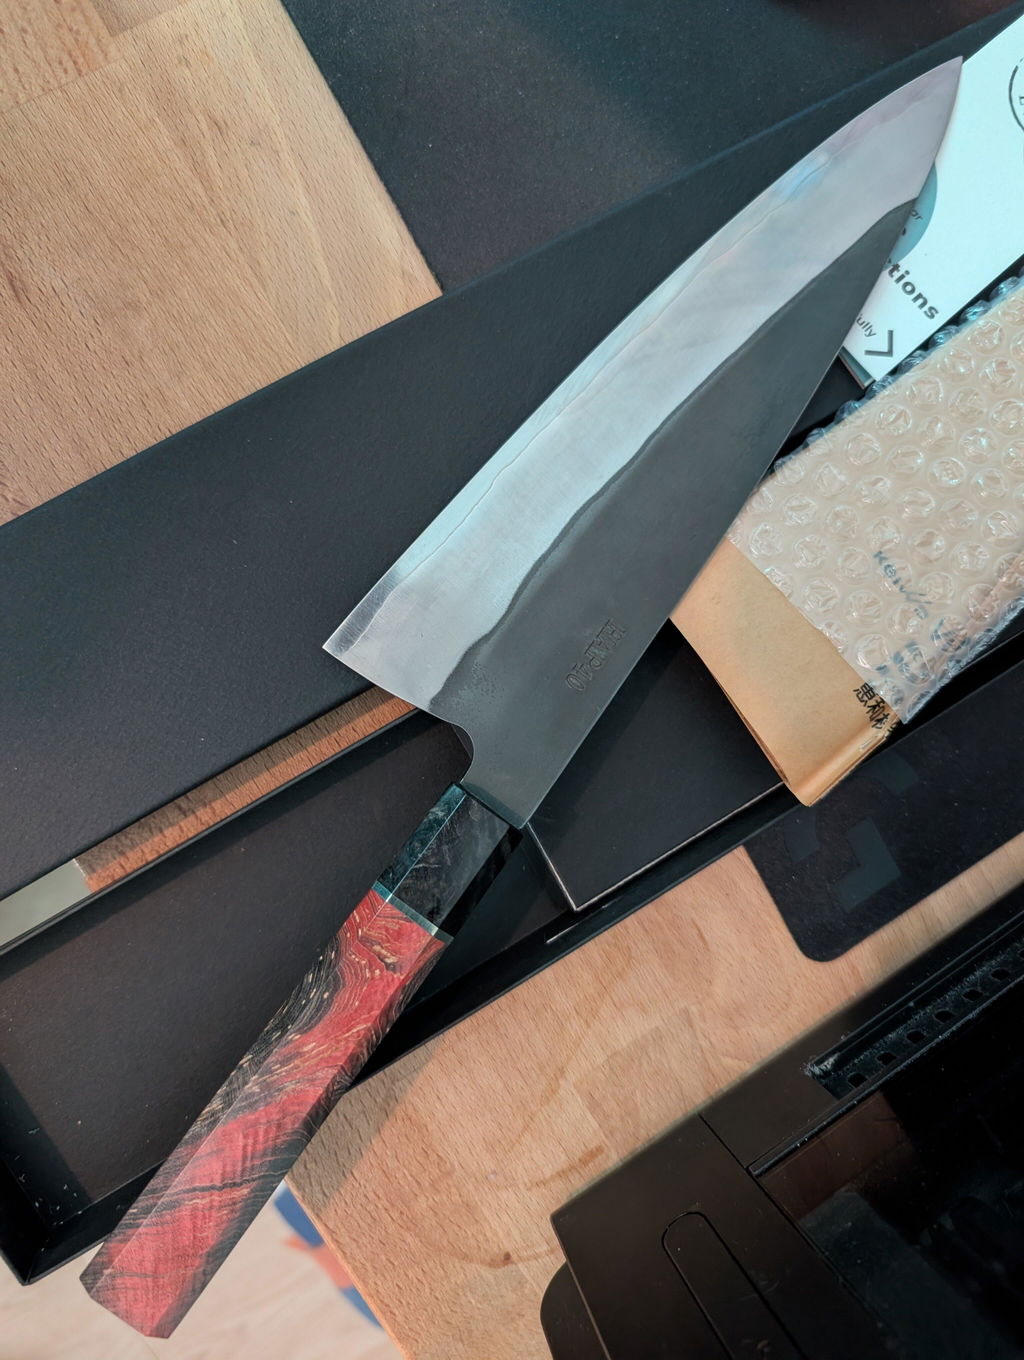
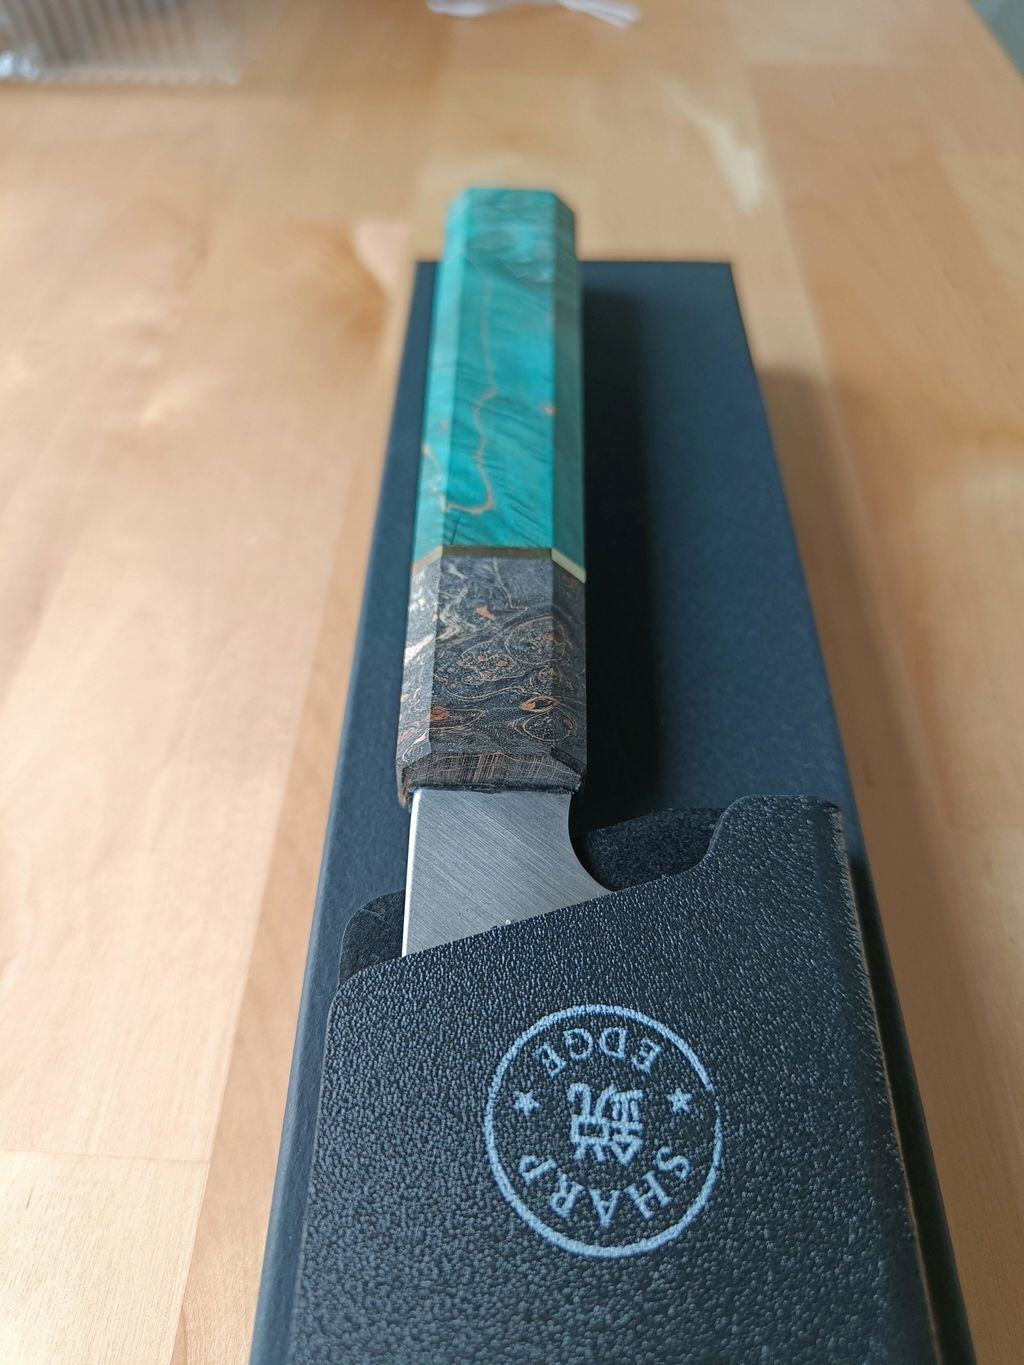
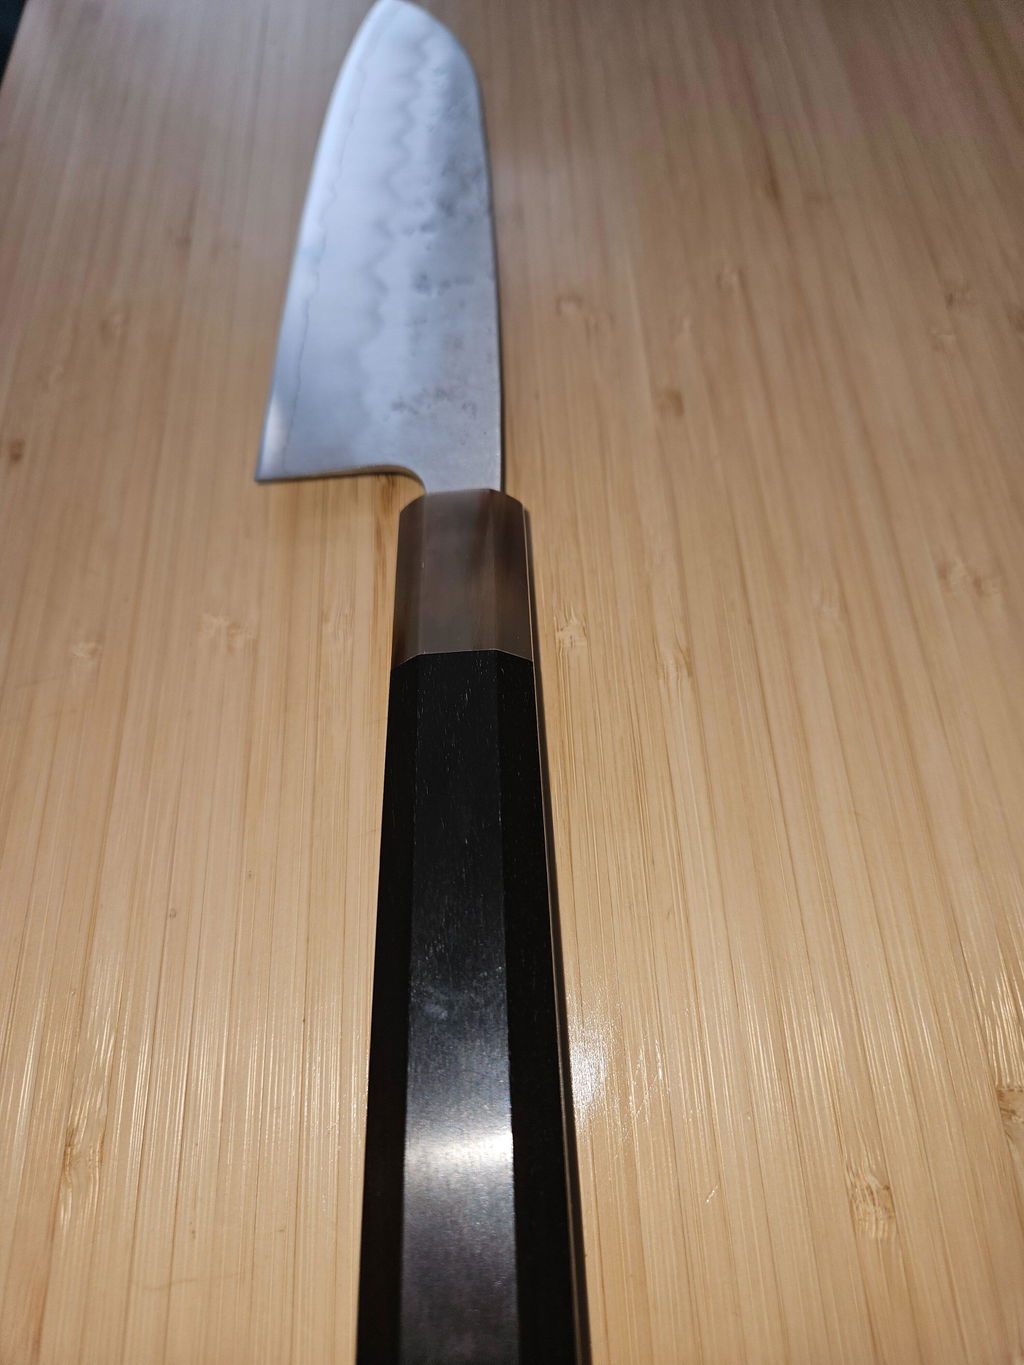
Add Handle Fitting service to your cart when you order a blade (knife without a handle) and a custom handle from us and want us to install the handle on the blade for you.
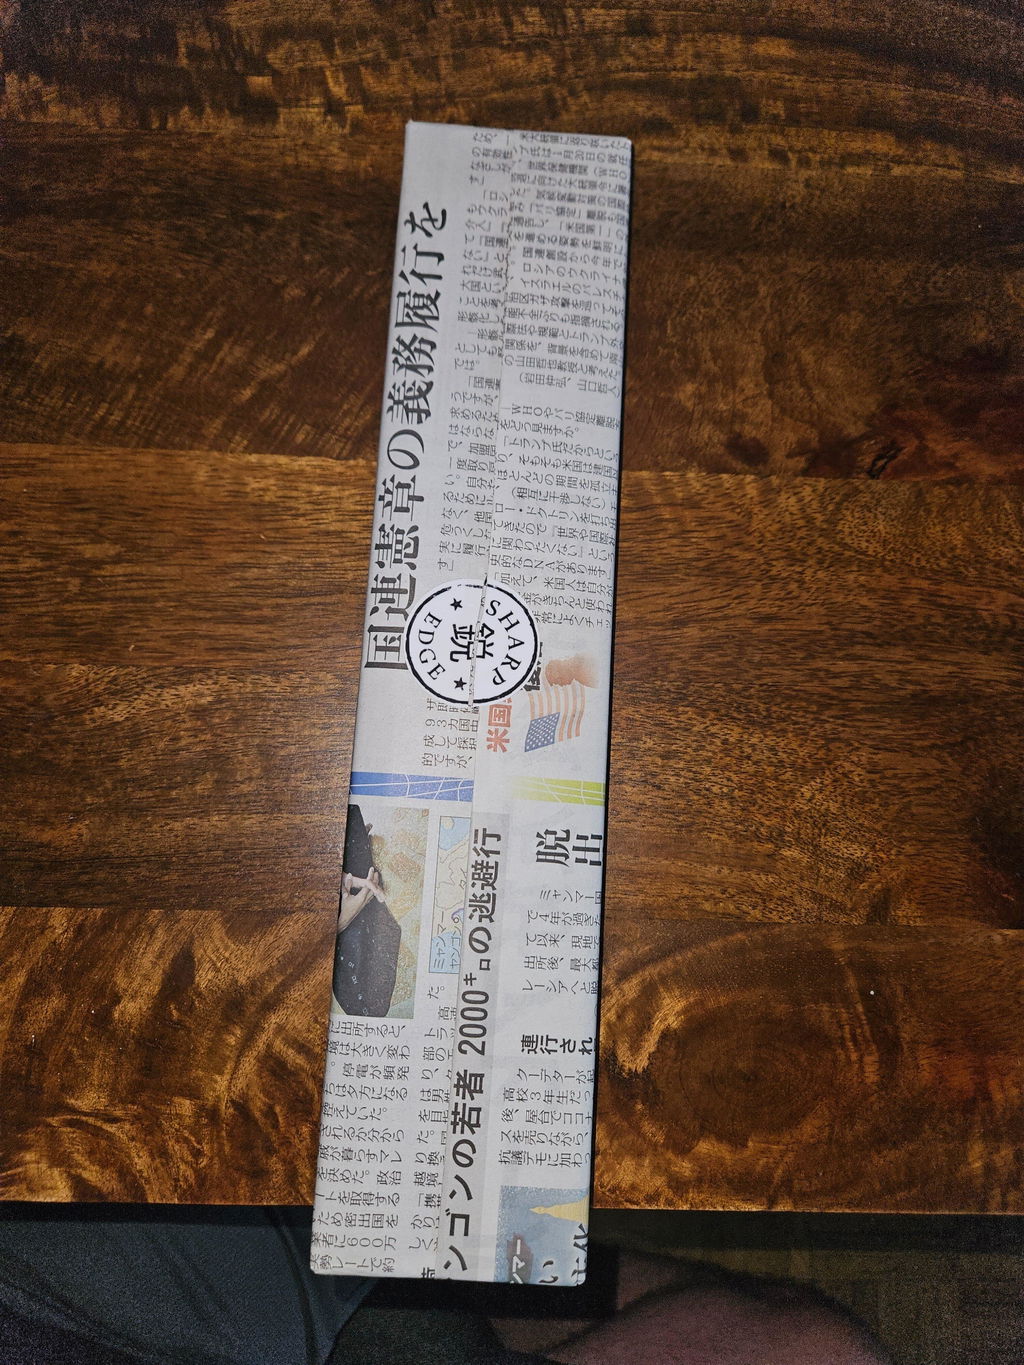
*We need 2-3 business days to install the handle. This will prolong delivery for a few days.
|
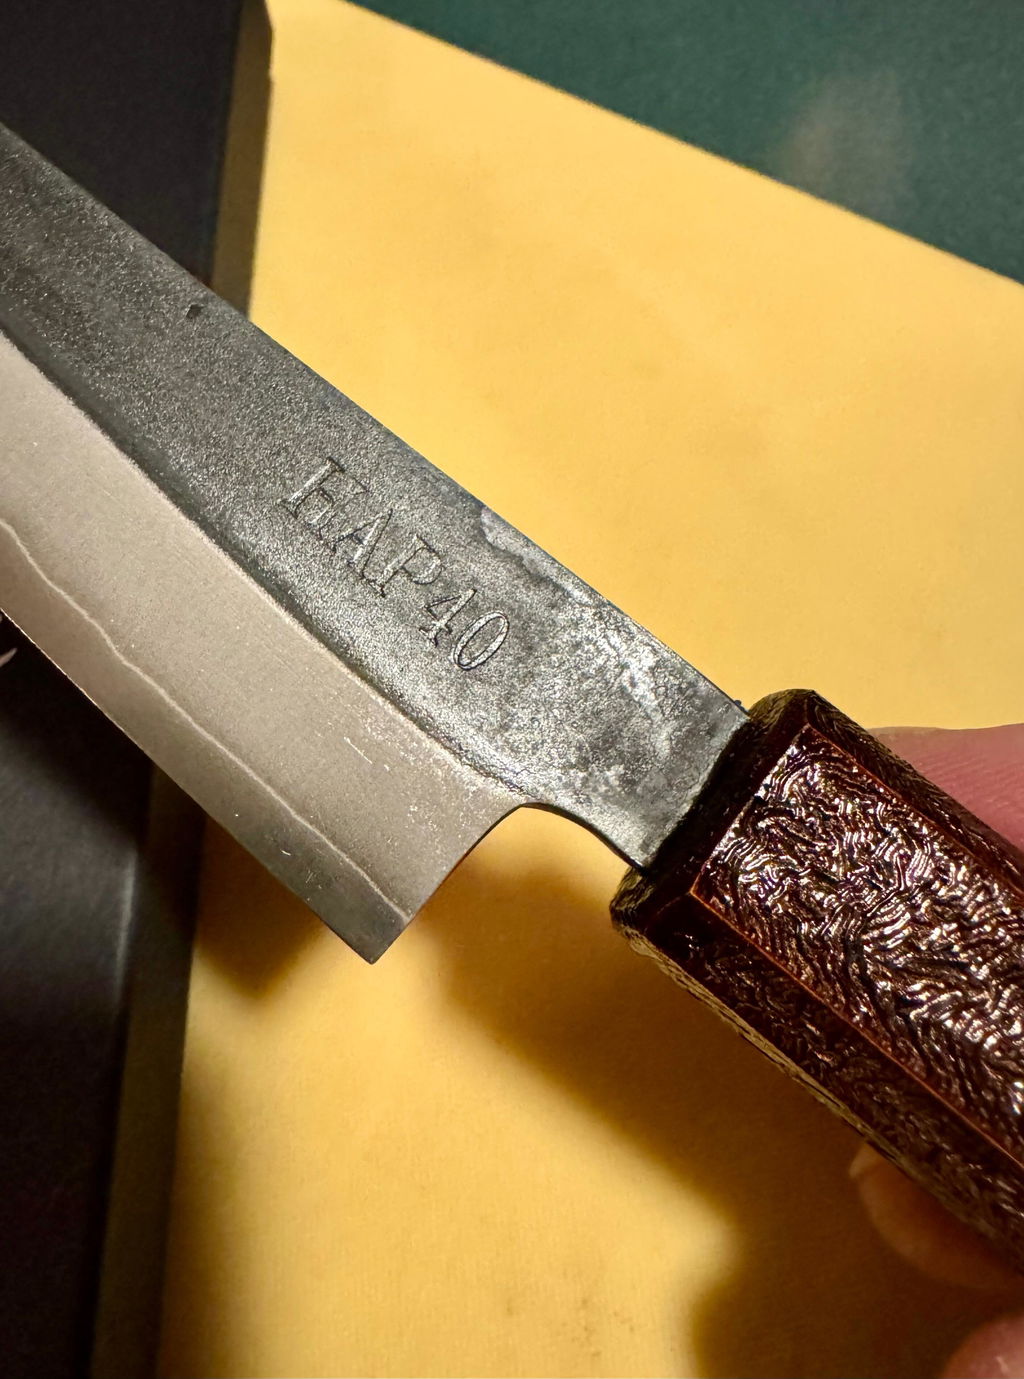
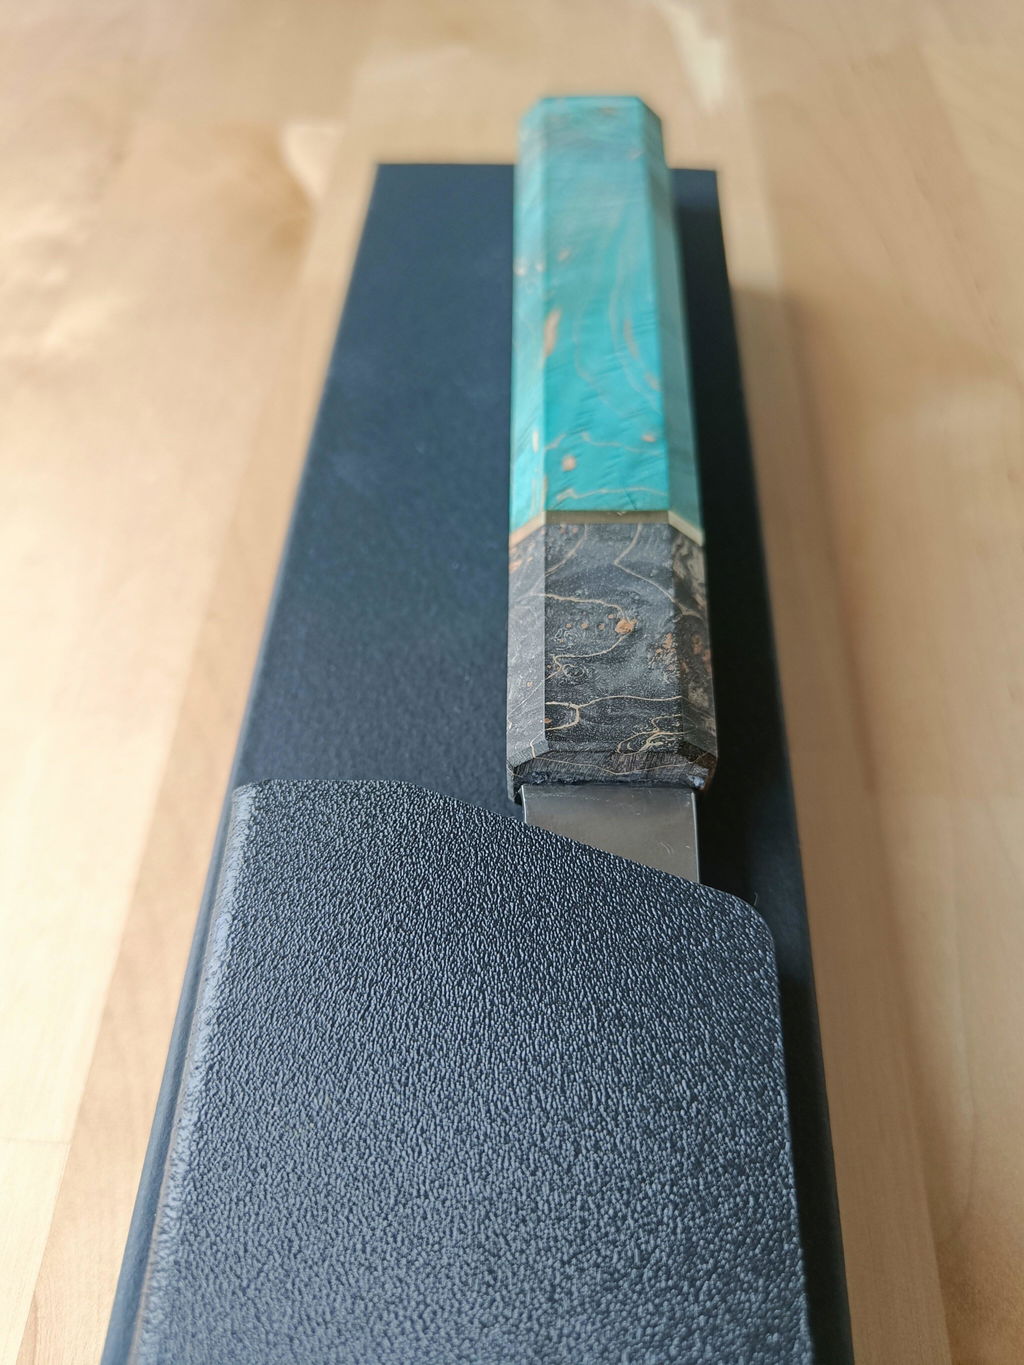
Handle Fitting Instructions: A step-by-step guide 1) Choose the right handle for the blade. Prepare the work surface and the equipment needed for fitting: the adhesive for wood/metal (we recommend using 2-component high viscosity epoxy glue), natural sealant resistant to corrosion, syringe, small sharp utility knife, sandpaper (optional), thin plastic card (similar to a credit card), a piece of cloth, oil/wax for wood care. 2) Check the initial fit, use a diamond nail file to make proper adjustments to the insertion hole so it fits your blade. 3) Use scotch tape to protect the area of the handle around the insertion hole. 4) Prepare and mix the adhesive; we recommend the use of 2-component high-viscosity epoxy glue. Other kind of adhesive can be used as well, make sure it’s suitable for wood/metal, high-viscosity is optimal as it makes the application much easier. 5) Fill the syringe and infuse the handle so there’s some excess glue coming out of the handle. 6) Insert the blade, make sure it’s straight in all directions and watch the excess glue so it doesn’t reach the unprotected part of the handle. 7) Carefully put the assembled knife down and wait for the glue to dry. The duration of the drying process depends on the type of glue you used, please see the instructions on the glue packaging. 8) Once the glue is dry, remove the scotch tape, take a small knife and clean the excess glue if there is any leftover around the fitting hole. Due to the structure of the wood, there’s a chance some of the glue poured out of the small holes on the handle, this is normal. Use the knife or high-grit sandpaper to remove the glue. 9) Use a natural sealant (resistant to corrosion) and fill any remaining gap between the blade and the handle insertion hole. For high precision use a plastic card/spatula to evenly distribute the sealant. Clean the leftover sealant with a cloth. 10) Final step: use oil or wax intended for wood care and apply it to the handle to achieve the final look. 11) All done, enjoy your new handle. |
SHIPPING RATES:
- €10 - flat worldwide rate with DHL Express (express delivery, 2-5 business days).
- FREE - all orders over €300 (DHL Express).
EXCEPTIONS:
See our Shipping page for more details.
DUTIES AND IMPORT TAXES:
We ship all orders DDP (duties & taxes paid). This means you will not be charged for any import fees and taxes (including VAT). All our prices are final. The price you see at checkout is the final price, no hidden costs.
DELIVERY TIME:
- Europe: 1-2 business days
- US & Canada: 2-4 business days
- Rest of the World: 3-5 business days
RETURNS:
Our return policy lasts 30 days. If more than 30 days have gone by since the day you received your order, unfortunately we can’t offer you a refund or exchange.
→ Read our SHIPPING & RETURNS policy for more info. We strive to solve any issues fast and with as little hassle for you. If you have some additional questions, please contact us.
Customer Reviews
Great knife, beautiful wa handle, and installed nicely. Thank you!
This is the second knife with handle fitting service, as usual great job, well done.
Always a pleasure to order on this website.
Regards
Gabriel aka sharpattaq.fr
Excellent and really fast service.
Sharp Edge hat das Messer mit viel Liebe zusammengebaut, eingepackt und versendet.

Super very satisfied